
Hi everyone,
While waiting my
reinforcements from post to come home and help me complete my 5.5’ gun Battery,
I thought of making some small terrain pieces that would complement my unit. In
my previous post you’ve seen some photos of the command troops that
would be responsible for directing the fire of the guns, by taking coordinates
from a forward observer and his companion radio man.
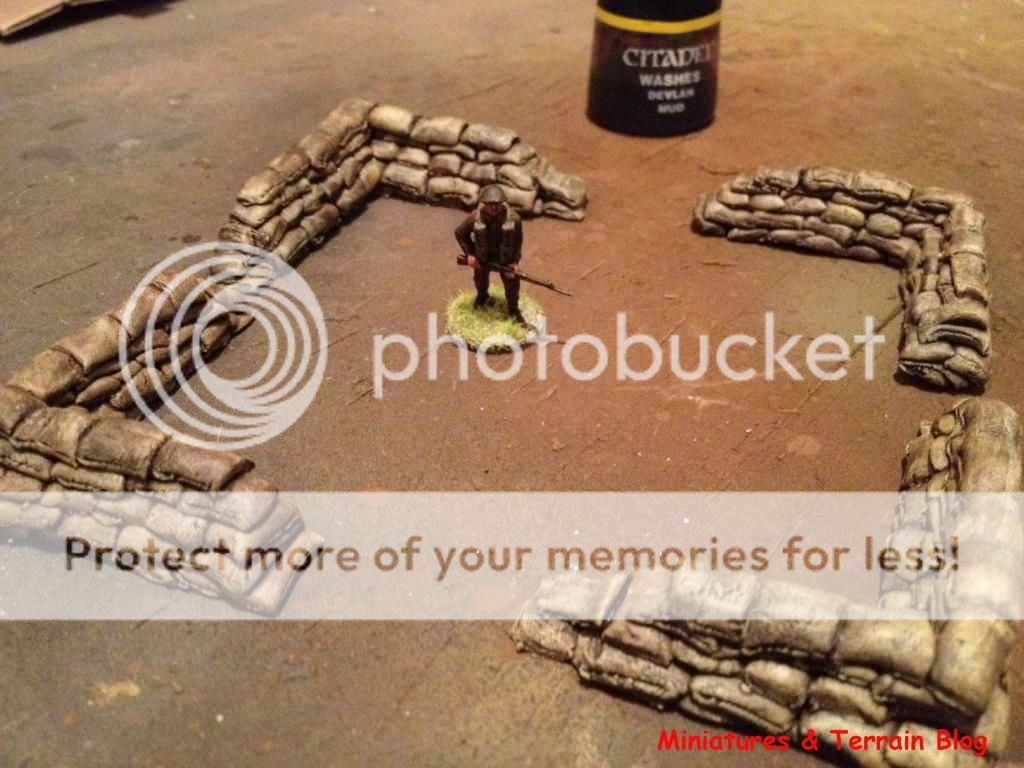
These men, would
normally be protected and covered. With this in mind I thought of providing
them the cover of some homemade sandbags (I have another special one-of-a-kind,
but it’s not yet finished – stay tuned for the forthcoming post).
For this reason
I bought a box of Milliput’s Standard Yellow-Grey epoxy putty and begun playing with it.
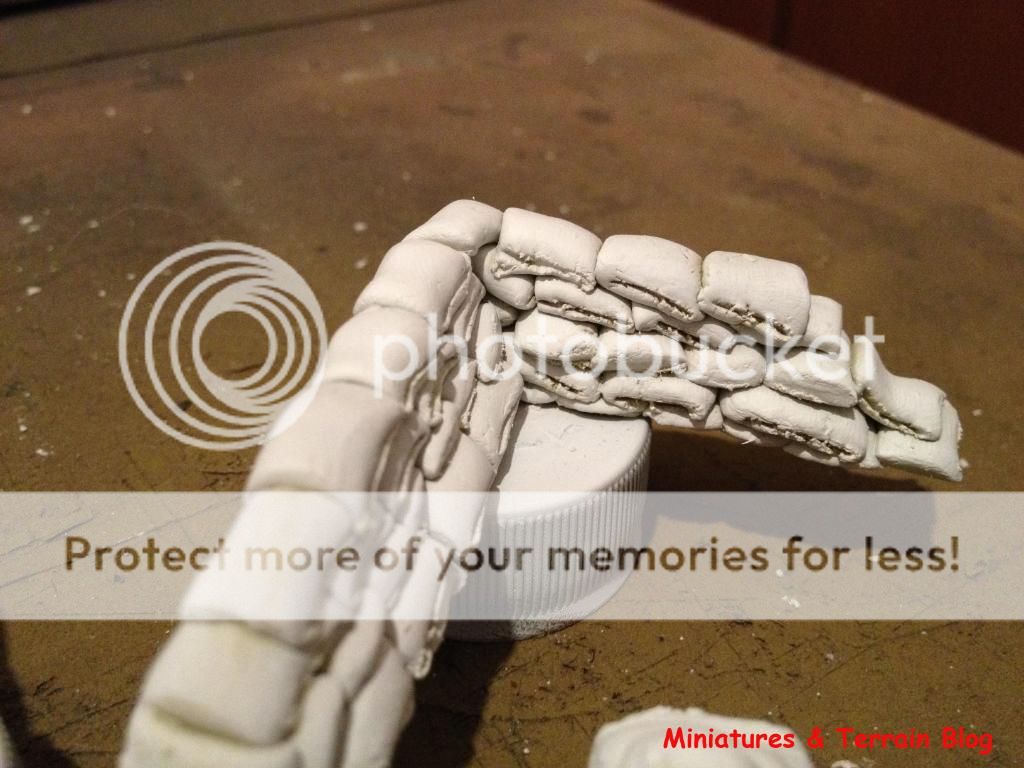
After combining
pieces of the two pieces provided (Yellow & Grey), I rolled a ‘’sausage’’
of some millimeters (I can’t remember its width – sorry for that – you can
always use the standard ‘trial and error’ method, depending the size of figures
you are using), and then begun cutting with my modeling knife small pieces, one
sandbag at a time.
I then put them
side by side (no need for glue, as the pieces can bond together on their own)
and made these four piles of sandbags. When putting one next to the other, you need to press gently their edges with you fingers, as if they are sewn, as they are in reality. Be careful not to overdo it though! While drying, I drew some marking lines
on the sides of the sandbags, with my modeling knife, in order to represent
their seams (as if I hoped to!).
You need though,
to keep your hands moist, ‘cause this putty tends to get sticky if it’s not
applied quickly. For this reason you need to have a small bowl with water next
to your working space.


It took me
almost 2 hours to make all these four ‘’corners’’, so be prepared for a rather
time consuming task.
I then let them
aside to dry (some hours are required – I begun painting them the day after).
While waiting you can always paint something you’ve been neglecting for a while
(come on admit it, we all do things like that… ;-) )
While searching
the web I came across to this page where a tutorial of how to paint
sandbags is being given. Nice page, wouldn’t you say? :-)
God,
I love internet!
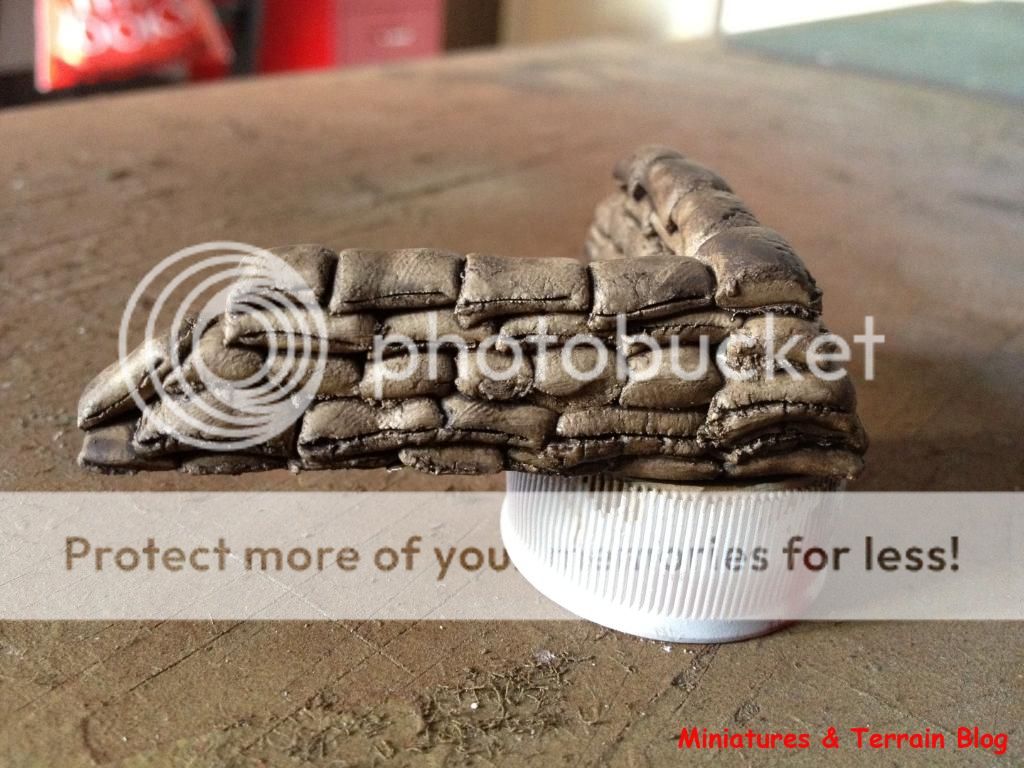
The painting
procedure I followed for my piles of sand (I didn't follow all the steps the page was suggesting to, but, it's up to you what painting method you want to use):
1.
White Primer.


2.
Devlan Mud wash.
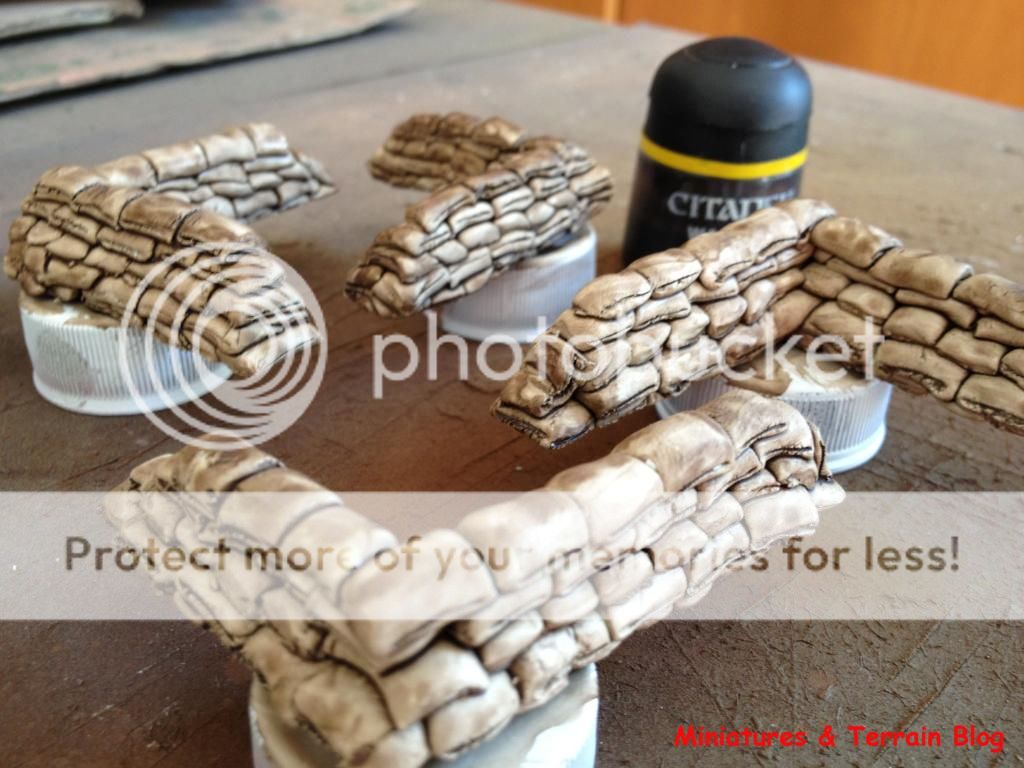

3.
Brown paint (diluted in water)
wash.


4.
Beige and White drybrush, to give that dusty look.


5.
Devlan Mud wash (light).


And that was it.
Easy peasy!


You don’t have
to pay money for buying ready made pieces of terrain. You can always make them on your own! :-)
If you have any
queries, please do not hesitate to contact me.
Have a good w/e
everyone!
T.


Epic sandbags Thanos!
ReplyDeleteLovely mate.
Thanks Paul!!! :-)
DeleteExcellent sandbag modeling, Thanos! And the tutorial is a boon to other modelers, thanks for your hard work, Sir.
ReplyDeleteIf only I was as good as in my job! Hehehe! Thanks Jay!
DeleteThey look excellent..well worth the two hours of molding them.
ReplyDeleteCheers
paul
Thank you Paul. :-)
DeleteYou need to be boring, otherwise you will never get the job done! :-)
Excellent sandbags and very well painted. Thanks for sharing this.
ReplyDeleteRegards
Bruno
My pleasure Bruno!
DeleteThanks for your kind words. :-)
Brilliant another useful tutorial!
ReplyDeleteThanks Gowan!
DeleteThanks for sharing this Thanos!
ReplyDeleteI had an other project in mind where I need a lot of sandbags and now you come up with this. I must confess I was thinking to make them with clay. And the painting tutorial is also very usefull! Thanks again!
Greetings
Peter
http://peterscave.blogspot.be/
If I was to make out of my hobby, then something would be wrong with me. :-)
DeleteThank you Peter!
Those are excellent thanks for sharing!
ReplyDeleteAnything for my fellows! :-)
DeleteThanks Dan!
Thanks for the tutorial Thano's, always appreciated. These came out looking great and have a sense of realism about them. I've got some Milliput but have been too intimidated to try to use it yet.
ReplyDeleteYou have less than 2000 pageviews to go to get to 100,000!!
Thanks Anne.
DeleteIt's really easy to use milliput. I had the same back thinking while buying it, but in the end it turned out an easy material to work with.
If I surpass 100.000 visits I'll buy you drinks! ;-)
I have to make a pillar for an interior scene and I found a tutorial on how to do it, now I need courage! And I'll take that drink!
DeleteYou're Irish, courage is your middle name. :-)
DeleteGood luck Anne, I ll be waiting to see how it ll turn out! :-)
"584,339"
Deletehere you are ;-)
And Thanks for the painting tutorial !
Great sandbag tutorial T, I'm picturing those at the edge of trenches on a beach in Normandy. Yes the mg nest at the top of the dune in Saving Private Ryan's beach landing scene. A+
ReplyDeleteSth like that Greg...nearly sth like that.
DeleteThank you!!! ;-)
Now they look nice!!! Well done Thanos!!!
ReplyDeleteThank you Supreme Master of the Universe! :-)
DeleteI'm very impressed with how those turned out T- great work & thanks for sharing how you did it.
ReplyDeleteforgot to ask, what are the approximate dimensions of your sandbags in milimetres- will be making some myself soon.
DeleteThank you John. They'll fit the purpose I guess.
DeleteThe dimensions (approx.) are: L: 1cm - W: 0.6cm - H: 0.2cm. Hope this can help you. I want to see your work as well! :-)
Thanks ! generally, I don't need sandbags, but the technical way could be useful for other bags...
ReplyDeleteAs long there is creativity, you can use it in any way you want!
DeleteThank you Sam! :-)
By the dice gods that's good work Thanos!
ReplyDeleteThank you Fran!! :-) its because I get ideas from your works and your blogs!
ReplyDeleteSimply wonderful Thanos. I will keep these in mind.
ReplyDeleteThx Rodger! :-)
DeleteExcellent stuff, Thanos
ReplyDeleteThank you Richard! Another brick in the wall I'm trying to build. :-)
DeleteThey are tremendous!
ReplyDeleteThank you Michael! You exaggerate a bit, but you made me smile! :-)
DeleteReally nicely done Thanos, I wish you had done this last year when I had some sandbag emplacements to paint up! Yours make mine look very poor.
ReplyDeleteThank you!
DeleteI am sure that yours will be as good as the ones that exist in the market. Cant you re paint them? I do it all the time with terrain pieces, when I find sth that I think its interesting. Give it a try! :-) thanks again!
I'd rather not repaint them, as there was some flock involved so I'd have to strip them completely and start completely from scratch. Mine are OK; yours make them look worse than they probably are.
ReplyDeleteNever saw such realistic sandbags. Thx for sharing!
ReplyDeleteExcellent standbag !
ReplyDeleteNicely done - as always.
ReplyDeleteTony
Very, Very Nice :)
ReplyDeleteBrilliant. I have just got in to modle making and this was a great starting point for me. Although mine don't look as good as yours for my first attempt I'm quite happy with them. Thanks for the walk through. ��
ReplyDeleteVery well done. Absolutely brilliant information. I'm in love with this blog. they always provide such a great information.wheel chocks
ReplyDeleteVery well done. Absolutely brilliant information. I'm in love with this blog.they always provide such a great information. builders mix
ReplyDeletenice
ReplyDelete