Good day and good week everyone!
Yesterday I managed to find some time to complete the tutorial I started last week.
It contains a lot of pics, so hold your breath and take the dive into it! :-)
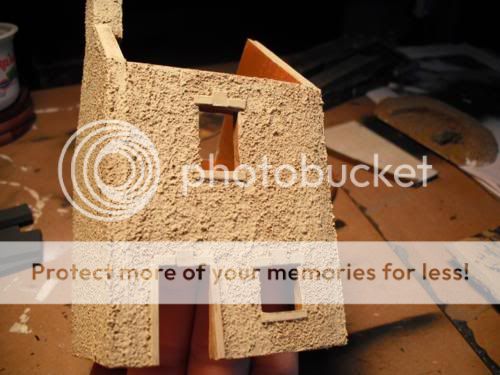
10th Step: Painting the house inside
For the inner part of the house I decided to use some spray paint to finish it quickly. Being afraid of not ruining the foam parts while doing this, I first gave the ''naked'' foam parts a simple coat of acrylic paint.
The outcome was not very successful, but since I will be using it for wargames purposes, I wouldn't bother so much about it! :-)


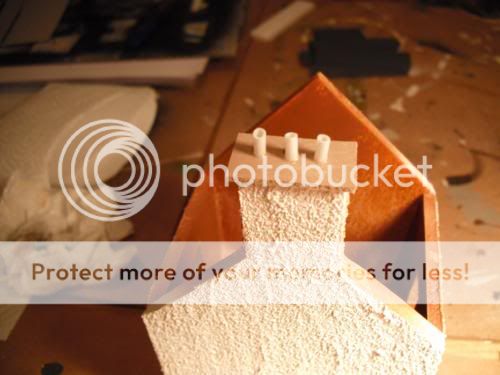
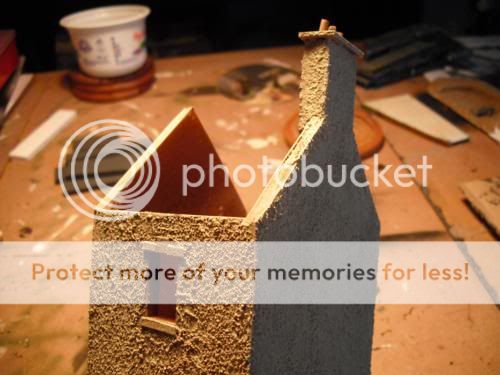
11th Step: Making the chimney
For the chimney I used a small piece of plastic tile (they can be cut very easily) and 3 small parts of a cotton bud (yes, yes, yes cotton bud) to represent the chimney components.

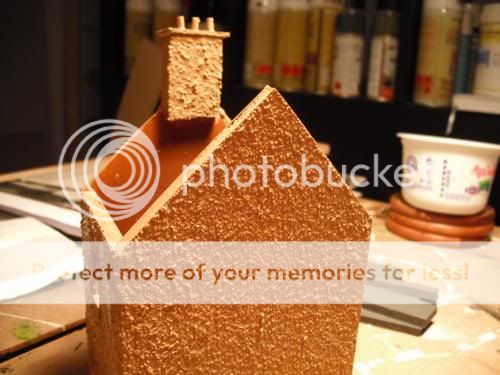
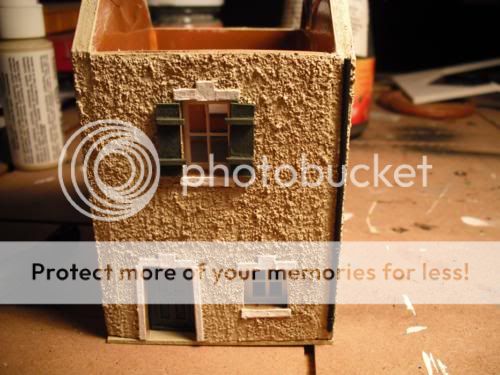
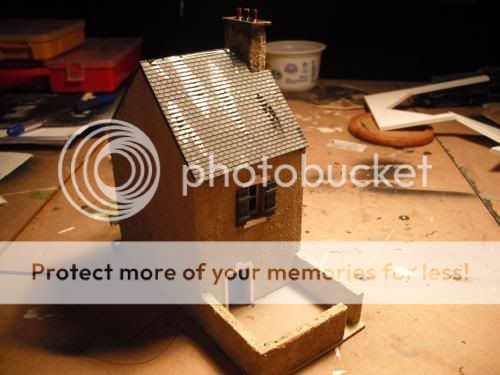
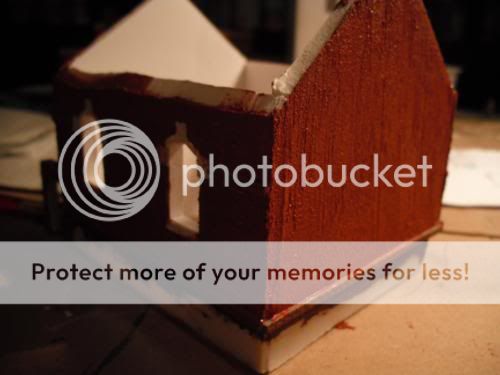
12th Step: Painting the building (Outer walls)
In this step, I painted the buildings' outer walls with Crafter's Acrylic 'Country Maple'. This colour would be the base colour.


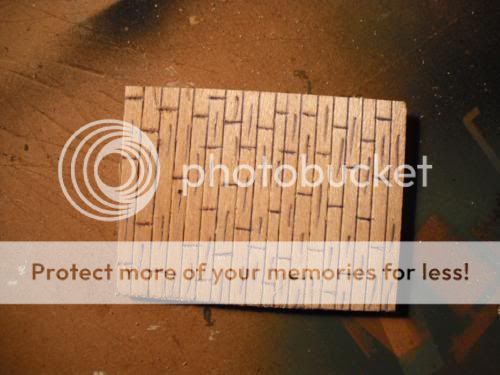
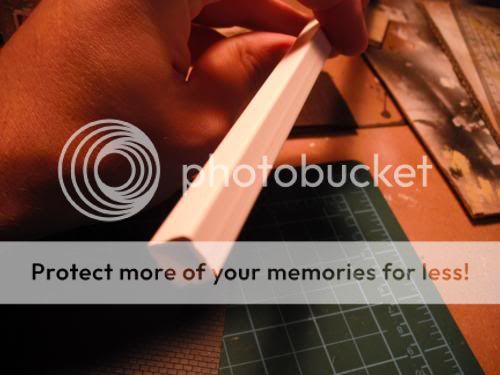
13th Step: Making the second floor
Using some 2mm width Balsa wood, I made the second floor. As you probably already know, balsa can be cut and engraved very easily, so in order to represent some woodwork, I took my pen and engraved some wood planks on it.

14th Step: Outer walls drybrush
In this step I used some Crafter's Acrylics 'Sandstone' to drybrush the building's outer walls with a flat brush. The brush had enough paint on it while drybrushing.


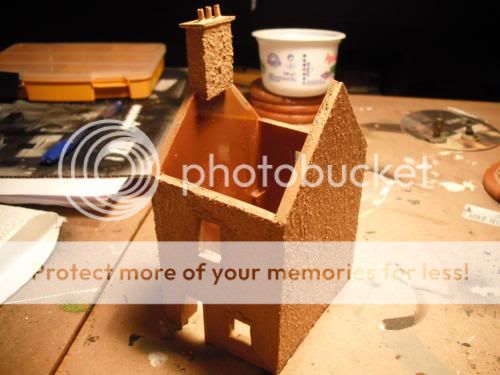
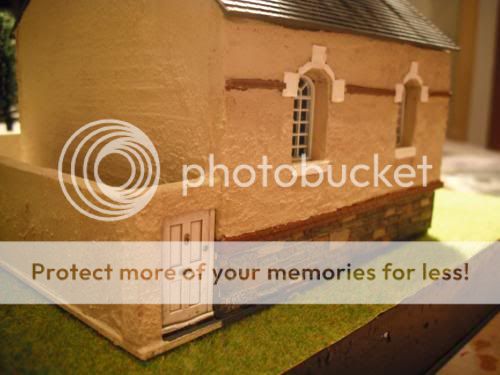
15th Step: Painting the doors and windows casings
Using some White colour (any acrylic colour would do), I painted the doors and windows casings.


16th Step: Making the windows shutters
With 3mm paper card and some strips of plastic rods I made these window shutters, in order to enhance the building a bit more. They were made very easily, I only had to be careful while cutting the components.

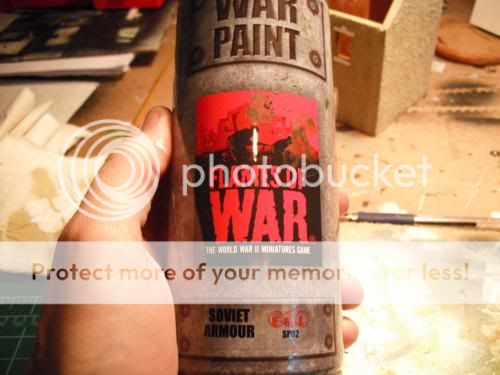
17th Step: Painting the doors and windows
In this step I used some Flames of War 'War Paint Spray' Russian Tanks green. It gives a nice even effect when applying.


18th Step: Gluing the windows
In this step I used some 'Super' glue to glue the windows in the window casings, in the inner part of the walls.


19th Step: Painting the second floor
With some dark brown acrylic paint, I painted the second (wooden floor).

20th Step: ''Washing the doors and shutters''
Using some Vallejo's Black wash, I gave a 'rich' wash on the doors and window shutters, and I let them dry for an hour.


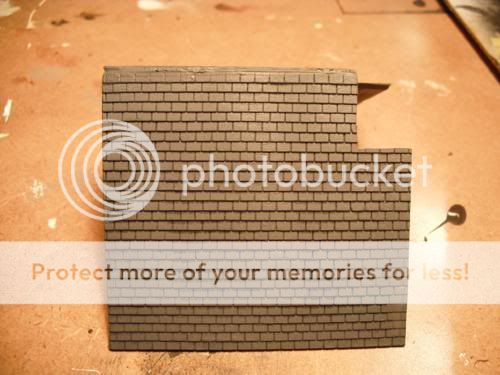
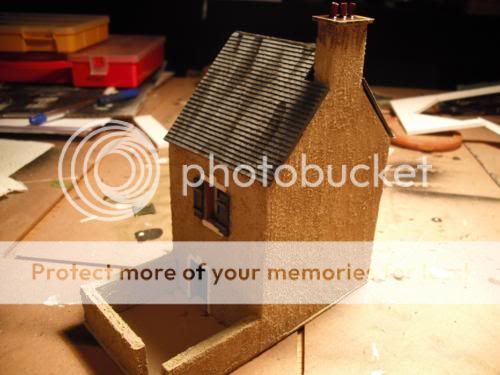
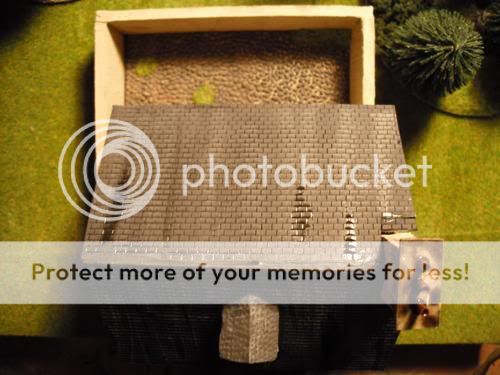
21st Step: Making the roof
In order to make the roof, I used some Wills' Plastic sheets (Slates) and a square plastic rod, for some stability and also for making the roof removable (vital for the wargames).


22nd Step: Enhancing the doors and window shutters
After the wash had dried I used some Vallejo's 886 Green Grey, and with a simple drybrush I gave the doors and window shutters some 'age' (The photos 'speak' better English than me, so you will understand!!). After that, I glued them on the building. :-)


23rd Step: Gluing the second floor.
While trying to glue (with some PVA glue) the second floor, I had a small accident and I broke the balsa wood floor. This part was very fragile. Be careful when you reach at this step!

24th Step: Painting the chimney
For painting the chimney 'spikes' I used some GW's Foundation Paint Mechrite Red. It may look very 'bright' but when it will be washed, it will be perfect!!!


25th Step: Gluing the building's components
After the steps I followed for this tutorial, the time has come to glue the buildings' components. The base is a piece of plastic tile as I said in the first Tutorial (post).


26th Step: Drainpipe!
Using Wills' SS46 - Chimneys & Drainpipes, I glued a piece of a drainpipe on the outer wall, in the place where the wall and roof will meet.


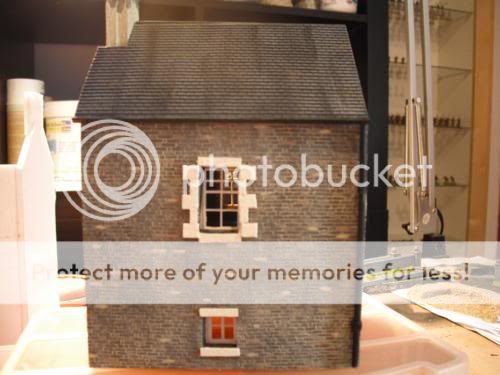
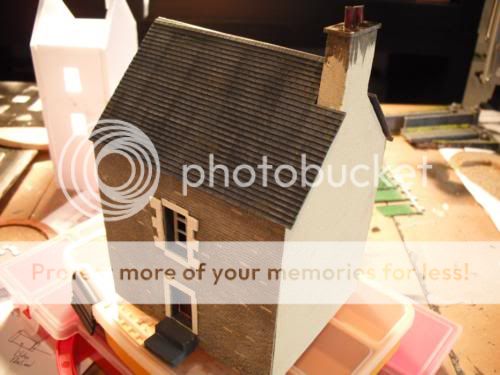
27th Step: Painting the roof
After priming the roof with an Army Painters' Black Primer Spray (any black primer would do really), I gave the roof two successive coats of grey (Medium and Light) with the drybrushing method.

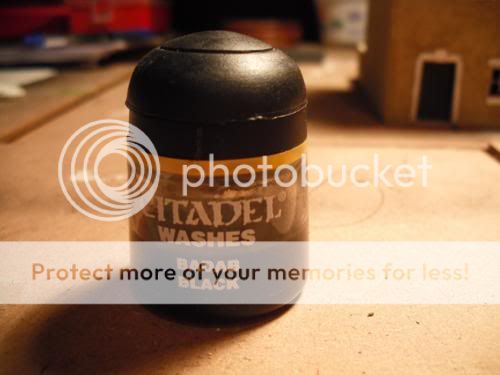
28th Step: It's raining wash - Badab Black Wash!!!
In this step I used GW's Badab Black Wash, in order to 'weather' the roof and the chimney a bit.
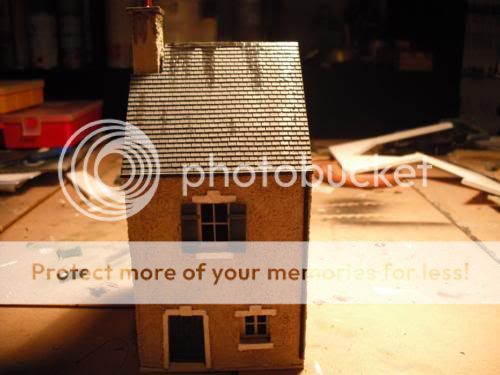
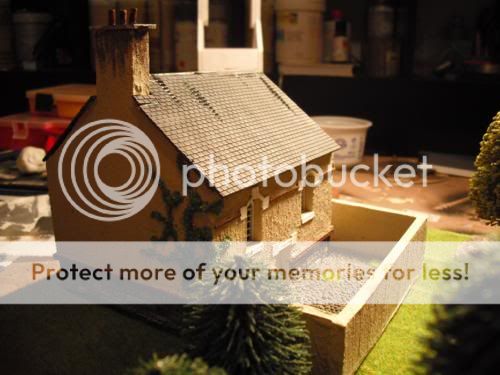
29th Step: That's it really.... :-)
In this photo sequence you see the finished model. Unfortunately, I didn't have time to finish the base. But as you fellow modellers would know, some sand, brown paint, static grass and PVA glue would suit the task sufficiently!


Well. . .
after testing your sanity levels, I am proud to announce that this tutorial has come to an end. I hope you liked it, and that you've found it helpful. With some practice and patience (the most important tool) you will be able to make your buildings.
If you have any questions, please feel free to ask!
T.


